ATS Resume Format: How to Build a Parsing-Ready Resume
Master the ATS resume format with single-column layouts, standard headings, safe file types, keyword placement and a quick parsing test before you apply.
Formatting issues appeared in 62% of résumés analyzed in ATS Checker's comparative résumé study. That doesn't mean every affected applicant was rejected. It means a polished-looking document can still create problems when software extracts its contents.
A reliable ATS resume format starts with a different question: can the system recover your experience accurately? Treat your résumé as a data file, then test the exported version before submitting it. Clean formatting won't replace relevant qualifications, but it can keep your actual qualifications from getting lost.
Table of Contents
- ATS Format Rules at a Glance
- How to Build a Parsing-Ready Layout, Step by Step
- Mapping Job Keywords Into Your Resume Without Stuffing
- Before and After One Experience Block
- File Types and Export Settings That Parse Cleanly
- Using Import and Template Tools Without Breaking Your Layout
- Test Your Resume and Make the Final Call
ATS Format Rules at a Glance
Resume format elements: ATS-safe choice versus risky choice
| Element | ATS-safe choice | Risky choice | Why it matters |
|---|---|---|---|
| Layout | Single column, text flows top to bottom | Two columns or sidebars | Columns can merge or reorder lines during parsing |
| Tables | Plain lines with simple spacing | Tables for skills, timelines or contact details | Cells may be read out of order or skipped |
| Contact details | Name and details in the body under the heading | Header or footer | Headers and footers are often skipped |
| Section headings | Experience, Education, Skills | Creative labels such as My Journey | Parsers search for standard labels |
| Dates | Month and year, same format throughout | Mixed formats or Summer 2022 | Inconsistent dates can obscure the timeline |
| Graphics and icons | None | Logos, icons, skill bars or photos | Images may be invisible to text parsers |
| Fonts | Arial, Calibri or Georgia at 10-12 pt | Decorative or script fonts | Unusual glyphs can become garbled characters |
| Bullets | Standard round bullets | Symbols, arrows or checkmarks | Special symbols may not register as list items |
These choices matter for mainstream applications, not just specialist recruiting systems. A 2025 usage report cited by Geekflare's ATS statistics guide estimated that 97.8% of Fortune 500 companies used an ATS. If you're targeting large employers, machine-readable formatting belongs in your application routine.
Fix reading order before appearance
Columns and tables create the most consequential trade-off: they save visual space but introduce uncertainty about which text belongs together. A recruiter might immediately understand that a date in the right margin belongs to the role on the left. Software may associate it with another line.
Contact information creates a different problem. A document header looks like part of the page to you, but a parser may treat it separately from the main content. Your name and email shouldn't depend on whether a particular system includes that region.
Practical rule: Keep every fact needed to assess or contact you in the document's main text flow.
These are risk-reduction choices, not a claim that every decorative résumé fails. Bold headings and sensible spacing can still make a plain document look professional.
Open your current file and audit it against the table. Look for columns, text boxes, skills grids and anything sitting in the top margin. Mark the rows it fails before rewriting your content, because structural repairs are usually easier when you haven't spent time polishing every line.
How to Build a Parsing-Ready Layout, Step by Step
Build the document around the relationship between role, employer, dates and evidence. A neat page isn't enough if those fields become separated during extraction.
In a peer-reviewed study of 99 résumés, the average ATS parse rates were 88.06% for chronological résumés, 87.50% for combination résumés and 55.33% for functional résumés, with an overall mean of 84.22%.
Average ATS parse rate by resume structure
| Resume structure | Average ATS parse rate |
|---|---|
| Chronological | 88.06% |
| Combination | 87.50% |
| Functional | 55.33% |
| Overall mean across all resumes | 84.22% |
These are parsing results from that sample, not interview probabilities or guarantees for every ATS. They support keeping a visible employment timeline rather than organizing the entire document around disconnected skills.
Assemble the document in order
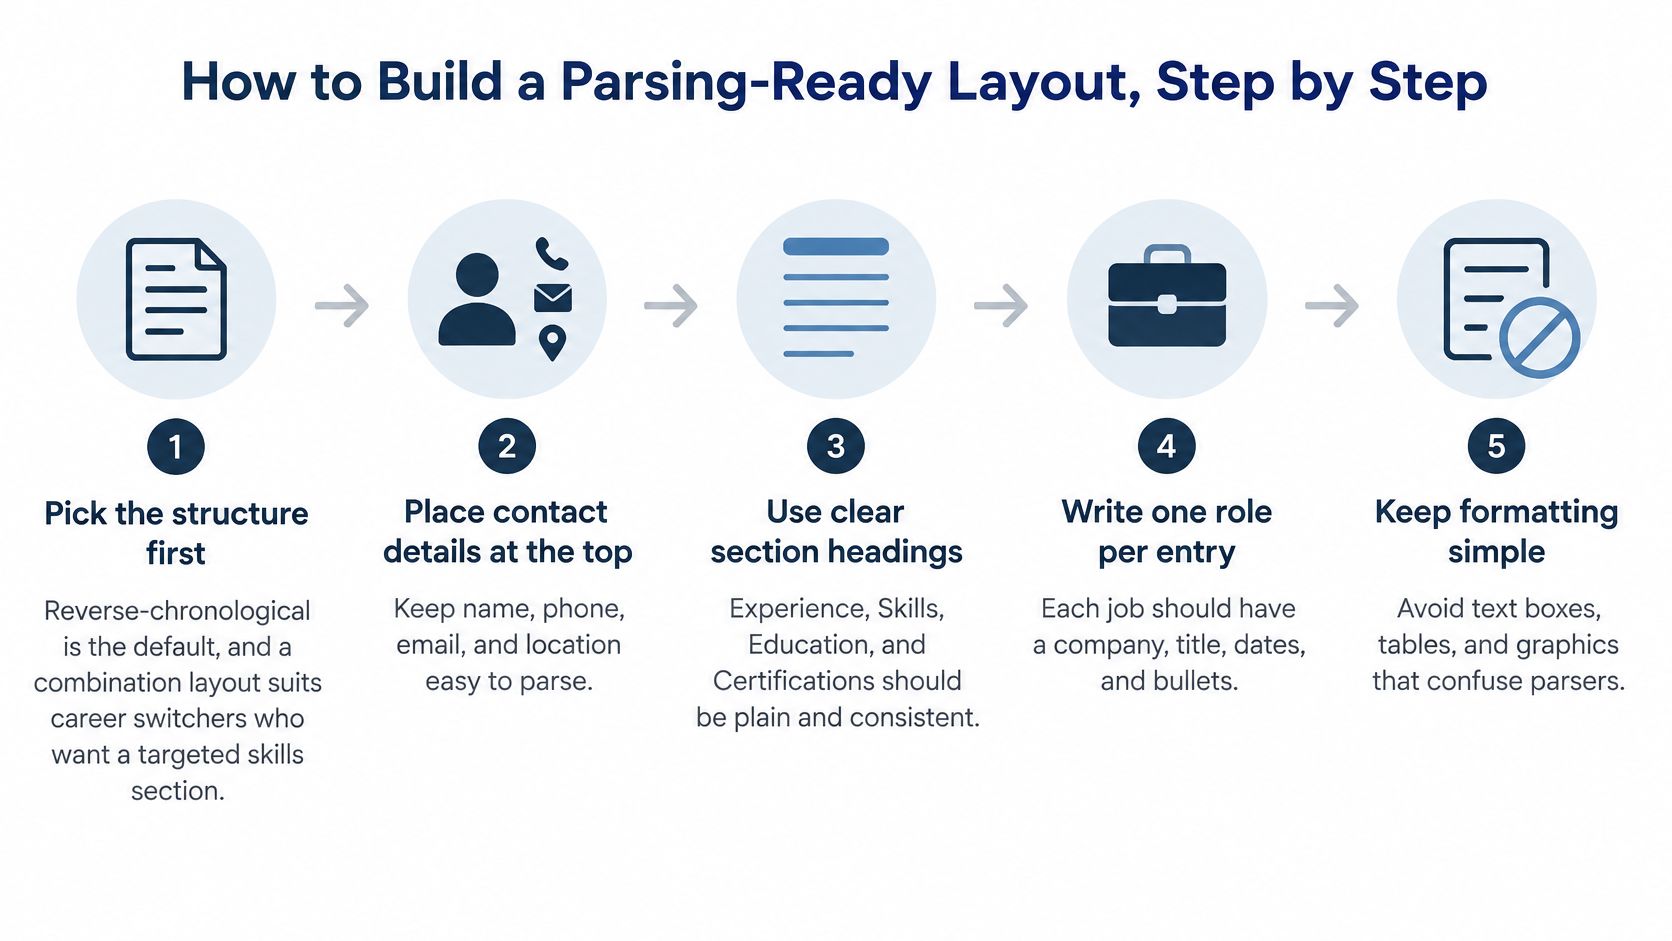
Pick the structure first. Use reverse-chronological experience as the default, with your most recent role first. For a career switch, a combination layout can add a targeted skills block without hiding where and when you developed those skills.
Start with a blank, single-column document in Microsoft Word or Google Docs. Set margins around 0.5 to 1 inch and choose one body font; these are practical starting settings, not a parser certification.
Place contact details in the body. Add your name, phone, email, location and LinkedIn address at the top of the main document area. Type the details as text rather than substituting icons for labels.
Add the standard headings Summary, Experience, Education and Skills. Keep each heading as a separate paragraph so the following content has an obvious starting point.
Give each role a consistent entry. Put the job title, employer and location on clearly associated lines, followed by the month-and-year date range. Don't use manual spaces to push different fields to opposite edges of the page.
Use ordinary bullets for achievements, with one achievement per bullet. As an editing starting point, give the most recent role three to six bullets and reduce older entries to the evidence still relevant to the application.
Save and inspect the export. Check for accidental boxes, floating objects, decorative lines and orphaned headings. Remove anything that doesn't help identify a field or understand an accomplishment.
The build sequence should remain simple enough to repeat for another application.
Preserve context for a non-linear career
Career switchers and returners don't need to disguise their history to make it relevant. Keep employment entries intact, then add clearly labeled projects, contract work or certifications where they supply missing evidence.
A freelancer can group engagements under a truthful self-employed role and describe selected projects beneath it. A returner can explain a career break plainly rather than manipulating dates to make it disappear.
The finished layout should read from top to bottom without requiring someone to look sideways for essential information. Every remaining visual element should serve a clear purpose.
Mapping Job Keywords Into Your Resume Without Stuffing
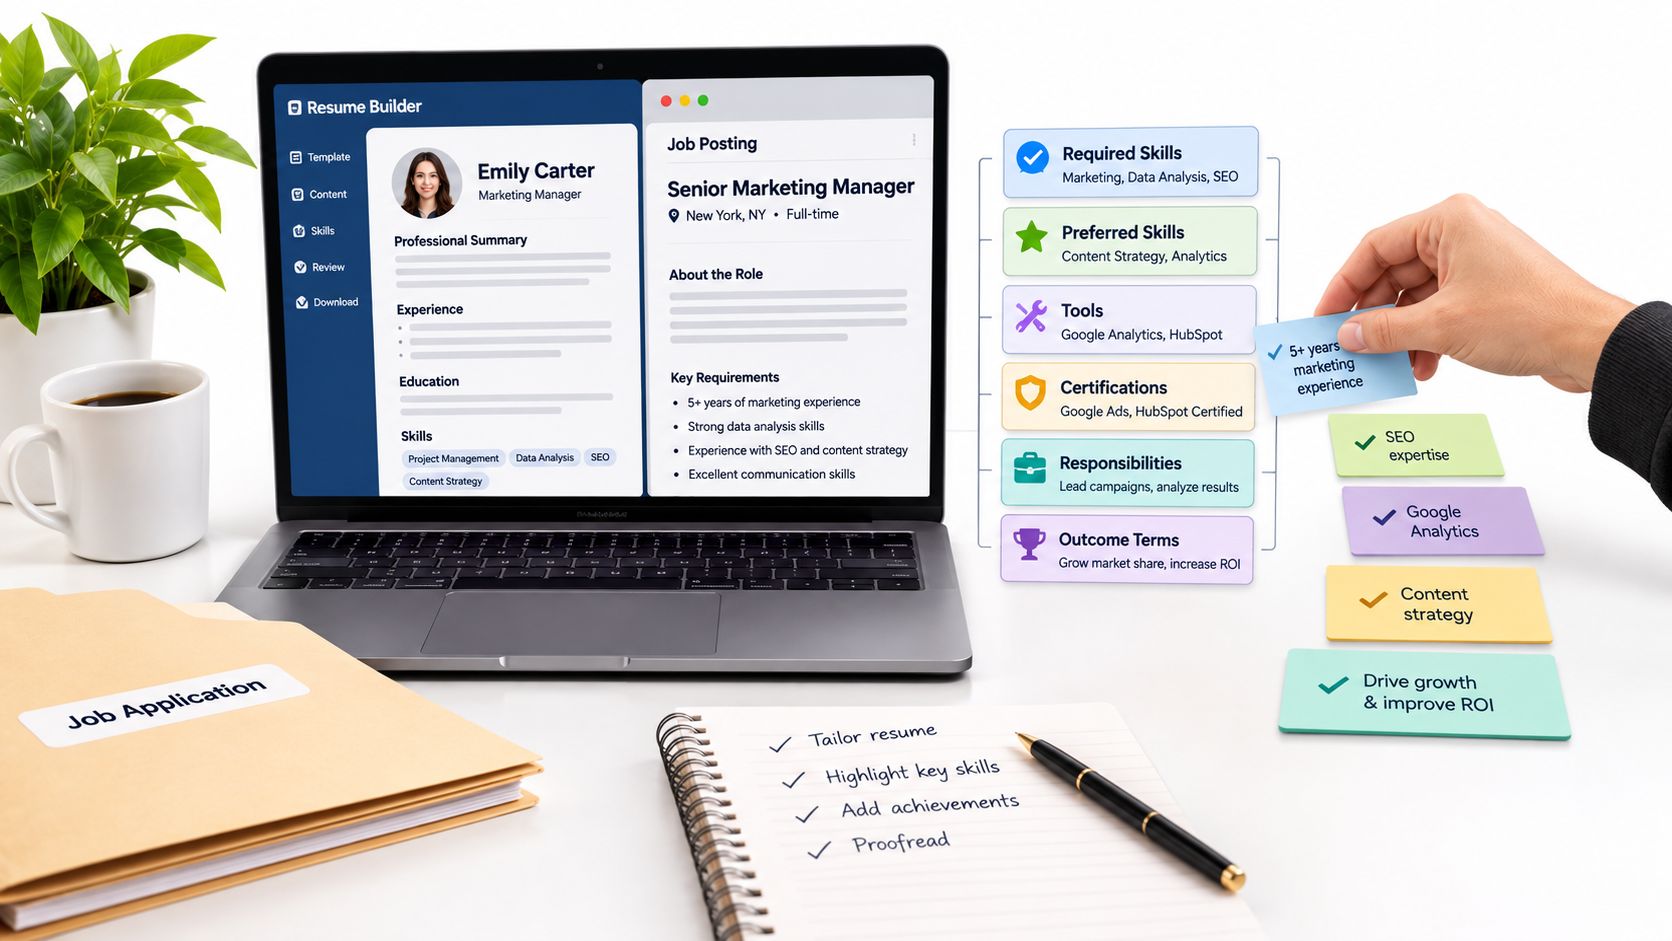
Start with the posting, not a generic keyword list. Sort its requirements into required skills, preferred skills, tools, certifications, responsibilities and outcome terms, then match each item to something you've done.
Indeed's ATS résumé guide recommends placing two or three priority terms near the top, incorporating relevant language into the most recent role and listing remaining tools or credentials in the skills section. Placement helps readers find the match, but the supporting evidence still matters.
Use the posting beside your draft while you make these decisions.
Turn a requirement into evidence
Say an operations posting asks for project management and stakeholder communication. In this hypothetical example, you coordinated a three-month vendor rollout across four departments and sent weekly updates to the project sponsor.
You could map that experience like this:
| Posting language | Evidence available | Natural placement |
|---|---|---|
| Project management | Coordinated the vendor rollout | Summary and rollout bullet |
| Stakeholder communication | Prepared sponsor updates and resolved questions | Experience bullet |
| Vendor management | Coordinated supplier delivery and follow-up | Skills and supporting experience |
| Budget ownership | No responsibility for spending decisions | Leave out |
An appropriate summary might describe an operations professional with project management experience coordinating vendor implementations. The experience bullet can then explain the work: coordinated a three-month vendor rollout across four departments, aligning implementation tasks and resolving delivery blockers.
A separate bullet could describe stakeholder communication through weekly sponsor updates. Don't force every term into the same sentence, and don't change your official job title to project manager unless that's accurate.
Write outcomes you can defend
Keep the employer's exact terminology where it fits, including project management and project manager when each describes a genuine qualification. Singular and plural variants are useful only when they read naturally, not as a reason to repeat an awkward phrase.
Use scope, action and outcome to strengthen a bullet. A hypothetical model is: Automated monthly reporting in Python, reducing close time by 30%. That figure belongs on a real résumé only if the candidate can substantiate it; otherwise, describe the verified improvement without manufacturing a percentage.
A keyword names the capability. The accomplishment explains why someone should believe it.
Use the guide to tailoring a résumé to a job description to organize the comparison before editing. Then run a simple evidence check: for every keyword in your skills list, find the bullet, project or credential that supports it.
Before and After One Experience Block
Consider Maria Lopez, an illustrative candidate whose details and results below are hypothetical. Her draft contains useful experience, but the layout makes it unnecessarily difficult to recover.
In the original design, Maria's name and phone number sit in the page header. A right-hand sidebar contains skills with rating bars, the experience heading reads My Journey, and the role appears as Marketing Coordinator at Brightline, Spring 22 to now.
Before
Her bullets begin with checkmarks, and the campaign achievement wraps beside the sidebar. A parser could omit the header, mix the skills into the role description and fail to interpret the seasonal start date.
After
Maria moves her contact details into the body and uses Experience as the heading. She removes the rating bars and rebuilds the entry with ordinary paragraphs and a round bullet.
The following comparison illustrates a possible extraction failure, not the result of a measured test. Each line break in the after column represents a separate line in the rebuilt document.
| Possible before extraction | Intended after extraction |
|---|---|
| My Journey Marketing Coordinator at Brightline Paid social Spring 22 to now Reporting Ran monthly campaigns Analytics growing qualified leads |
Maria Lopez Phone number Email address Experience Marketing Coordinator | Brightline Retail March 2022 to present • Ran monthly paid social campaigns across three channels, growing qualified leads by 40 percent. Skills Paid social Campaign reporting Analytics |
The improvement isn't a more impressive claim. It's a clearer relationship between candidate, employer, title, dates and accomplishment.
The sample deliberately uses a phone placeholder rather than an invented contact number. In your own document, type your actual details and verify the campaign scope and outcome before retaining any comparable claim.
Rebuild one of your roles in this format using only facts you can prove. If you can't explain how an outcome was measured, revise the wording before worrying about its appearance.
File Types and Export Settings That Parse Cleanly
The posting outranks general file-format advice. If the employer requests a particular type, submit that type rather than choosing your usual export.
Jobscan's ATS guidance identifies DOCX as a generally safe choice when no format is specified and notes that some systems parse it more accurately than PDF. A PDF can still work well when the employer requests it or when it contains searchable, selectable text.
File types, when to send them and what to check
| File type | When to send it | What to check |
|---|---|---|
| DOCX | No format named in the posting | Open it again and confirm you can select the text |
| Employer asks for PDF or it is exported from the editor | Select a job title; if it does not highlight, re-export | |
| Image-only or scanned PDF | Avoid for applications | Content may not be recognized as text at all |
| DOC | Only when requested or the system lists it | Save a copy and run the plain-text test again |
| RTF, HTML or ODT | Only when the posting lists it | Submit only the requested type and confirm it opens |
Export text, not a picture
Use your editor's save or export function. Don't take screenshots of the pages, assemble them into a PDF and assume the result contains readable text.
A file can look correct while containing little more than an image. Optical character recognition may recover some content, but there's no reason to introduce that uncertainty when you can export the original text.
Selectable text is a useful first check, not proof of perfect parsing. A PDF may let you highlight every word while still copying those words in the wrong order.
Export check: Open the file you intend to upload, not just the editable document you used to create it.
Name the file clearly, using a pattern such as FirstName-LastName-Resume.pdf. Keep a distinct final copy for each application so you don't accidentally upload an older version with different wording.
Open that exported file on another device or in another viewer. Check that headings haven't shifted, bullets haven't changed into empty squares and page breaks haven't stranded a job title away from its achievements. For DOCX, pay particular attention to font substitution and line wrapping outside your own editor.
Using Import and Template Tools Without Breaking Your Layout
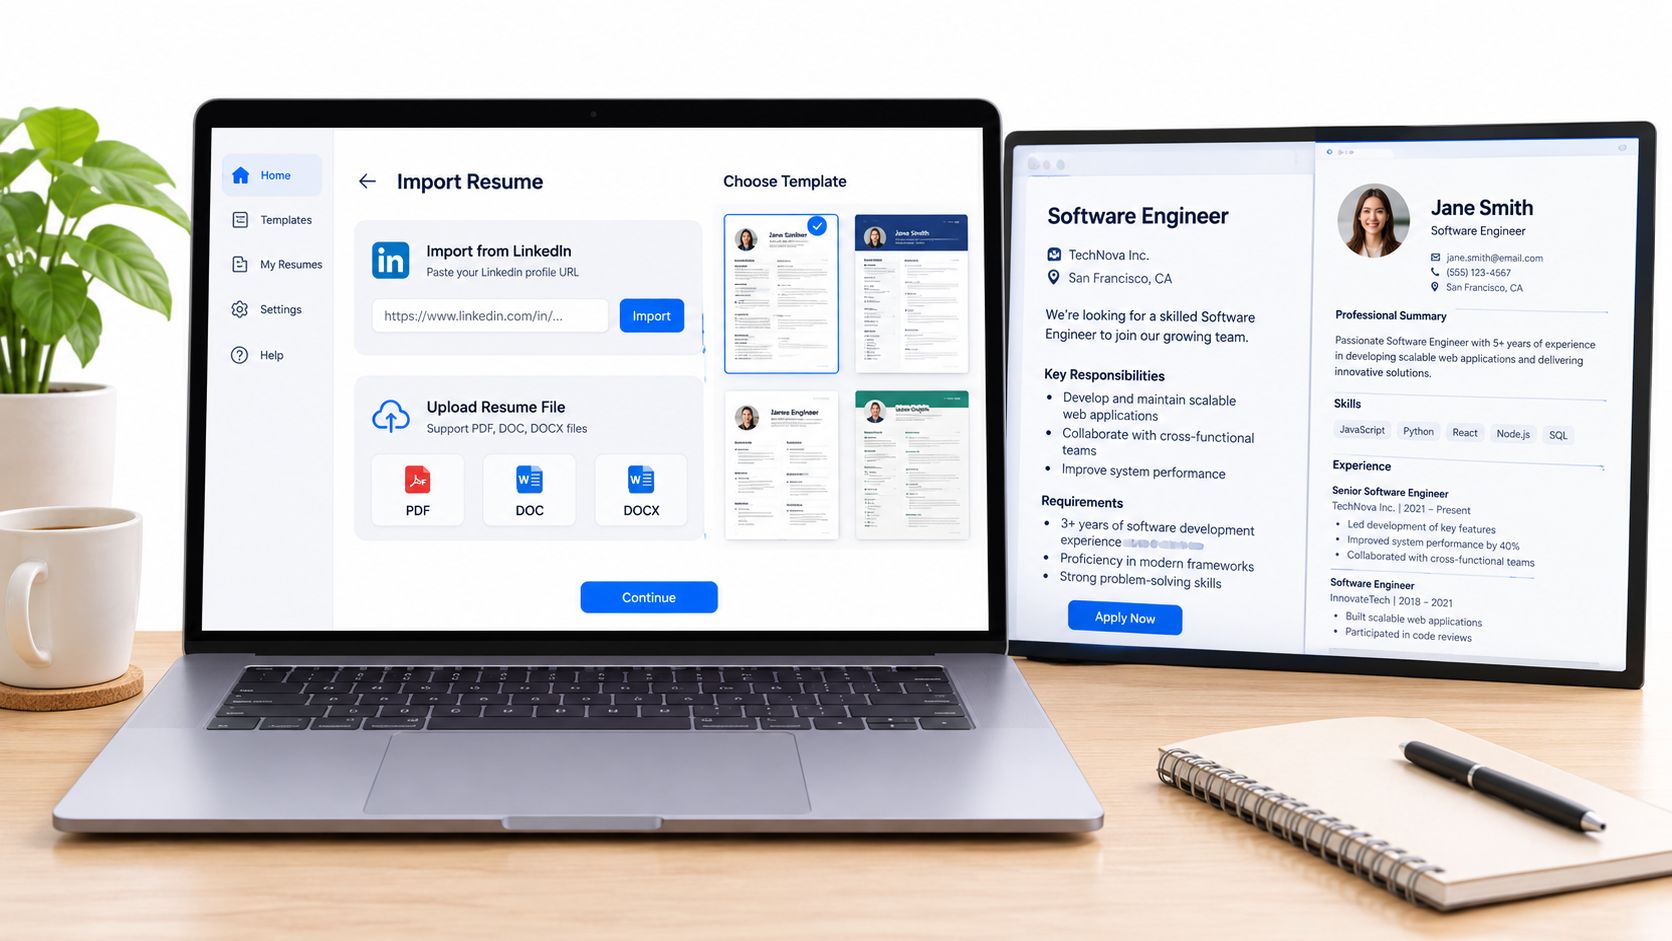
Suppose you're starting from a LinkedIn profile rather than a maintained résumé. Our import workflow starts with a LinkedIn profile URL or an existing résumé upload, and the job listing is optional.
Uploaded files must be PDF, DOC or DOCX and no larger than 10 MB. Import gives you a starting draft without retyping your employers and dates, but you still need to compare the imported content with the source.
Keep the original profile or résumé available during that review.
Pause before accepting the draft
Check the imported history before rewriting it for a role. The LinkedIn-to-résumé guide can help you turn profile content into a focused application document rather than copying every profile section unchanged.
- Headings: Keep recognizable labels instead of importing promotional profile headings as résumé sections.
- Dates: Confirm that each range belongs to the correct employer and uses a consistent month-and-year format.
- Bullets: Look for separate achievements that have merged into a single paragraph.
A profile may contain overlapping positions, volunteer work and ongoing projects. Decide deliberately where each belongs instead of assuming the import has made the right editorial choice.
Treat template changes as a new version
Choose a single-column design for applications where predictable reading order matters most. A template with attractive sidebars or decorative skill indicators may create extra checking work without adding useful evidence.
After changing the template, compare the newly exported text with the reviewed content. Watch especially for long job titles, wrapped date ranges and skills that move to another region of the page.
For a walkthrough of the editing workflow, use the video below.
Our résumé workflow changes the résumé only when you integrate a reviewed draft. Accept or reject suggested lines individually, checking that the wording preserves your actual responsibility and results.
Keep one master record of your career history and export a customized copy for each application. That preserves your source material while letting you change emphasis for different roles.
Test Your Resume and Make the Final Call
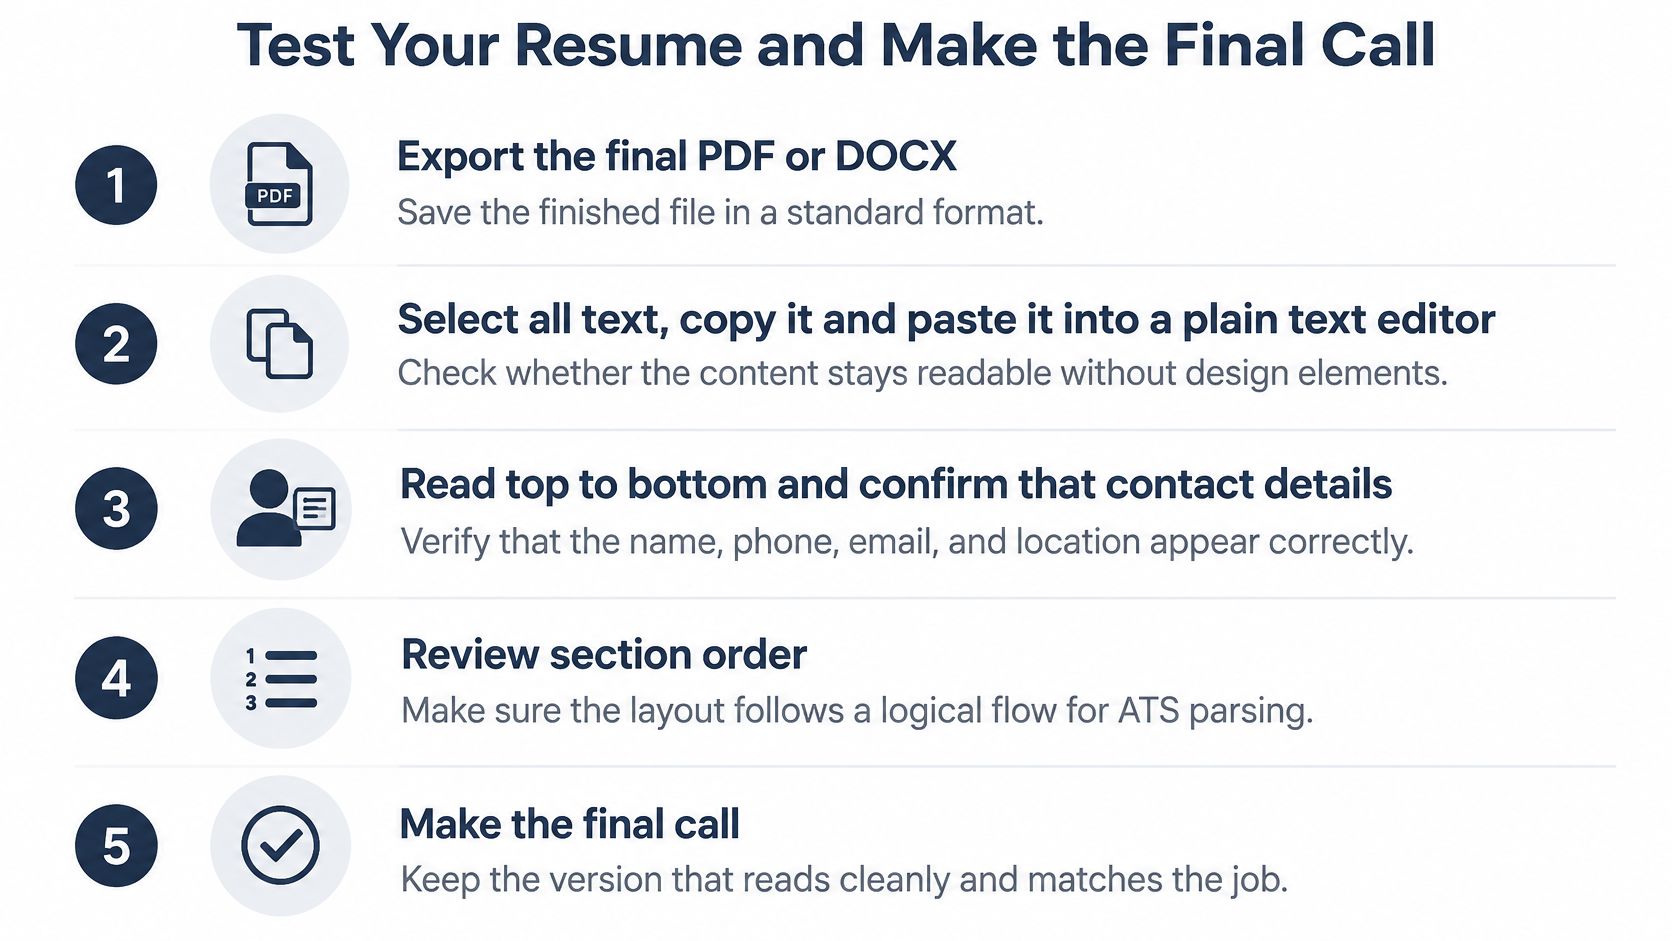
- Export the final PDF or DOCX. Test the exact file you're preparing to submit, not an earlier draft.
- Select all its text, copy it and paste it into a plain-text editor such as Notepad or TextEdit in plain-text mode. Don't repair the pasted result before checking it.
- Read from top to bottom. Confirm that contact details, section order, job titles, employers, date ranges and bullets appear in the intended sequence.
- Note every missing, reordered or merged line. Use the troubleshooting table to identify a likely cause, repair the original document and export again.
Parsing problems, likely causes and fixes
| Symptom | Likely cause | Fix |
|---|---|---|
| Contact details missing from the extracted text | Details placed in a header or footer | Move them into the body under your name |
| Sections appear in the wrong order | Two-column layout or text box | Rebuild as a single column in standard order |
| Dates merged with job titles | Tab stops or table cells | Put dates on their own line after the title |
| Skills read as one long line | Skills laid out in columns | Use a simple bulleted list |
| Whole sections missing | Image-only or scanned export | Re-export from the editor with selectable text |
| Bullets join the previous line | Inconsistent bullet or line spacing | Reapply plain bullets to the affected lines |
This test won't reproduce every employer's parser or predict a hiring decision. It will expose avoidable extraction problems before you hand the file over.
Use this checklist on every customized copy, since even a small edit can change wrapping or reading order.
Apply the final submission gate
Your résumé is ready when the layout passes the plain-text test, the file type matches the posting and every skills keyword has supporting evidence. Then look at the designed page again, because recruiters still need to understand it quickly.
A 2024 ResumeGo survey of 418 U.S.-based hiring professionals, described by LG Resources, found that 47% spent between 30 seconds and one minute reviewing a résumé during initial screening. Make your target-role relevance visible without asking the recruiter to decode a dense paragraph.
Our free ATS résumé checker compares a draft with a specific role; you can also tailor a résumé to a job listing for free and export a submission-ready PDF. Treat the results as another review input, not permission to skip your own verification.
You must review and verify every résumé, recommendation, score and generated statement before relying on or sharing it. You're responsible for each claim, including language you accepted from a suggested draft.
Send the version when all three checks pass. If any fails, use the opening rules table to repair the document, then repeat the test.
Bring your real career history and target job listing to GetTheCall to build a job-specific résumé, review the fit and export a submission-ready PDF. Before uploading it to an employer, run the plain-text check and verify every line so your final document is both readable and defensible.